Workflow
This is a quick overview of a basic project setup. In most cases you would import a pre-designed demo and most features will already be enabled.
Create Variables. Journal > Variables > ... See Variables
- Set up the Breakpoints. See Breakpoints
- Set up a few Colors, e.g. foreground, background and some accents.
- Set up Font Family variables. Decide on the fonts you want to use. Various system fonts are available, as well as the entire Google Fonts library.
- Set up a few Font Sizes. You need some common sizes for starters, like a body text font and some heading sizes. You can always come back to edit or create more sizes.
- Set up Spacing variables. These are very useful for adding spacing between grid items such as products, banners, blocks, gallery images, etc.
- Optionally set up gradients or shadows if your design requires such features. They will appear in every Background or Shadow option, wherever these options are being used.
Create Styles Journal > Styles > ... See Styles
- Create one or more instance of each style needed, give it a unique name and save it.
- Proceed to assign the styles to the Skin or Module wherever it's needed.
- After a style has been assigned to the skin or module the design can be seen in the storefront.
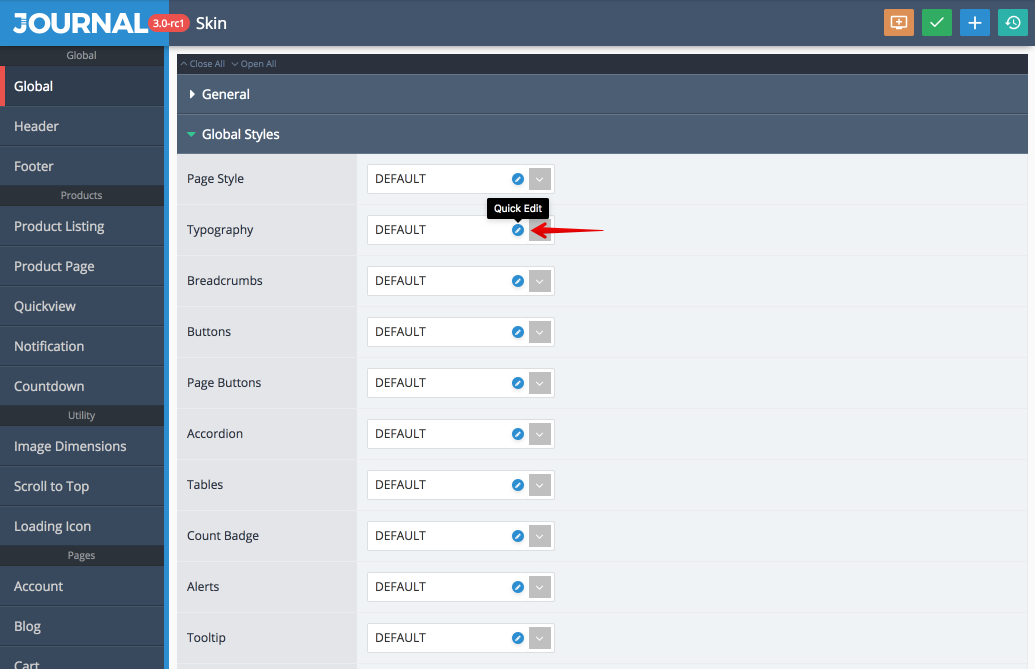
- Go back to the Style and customize it as desired or use the "Quick Edit" button directly from option in the module or skin.
Create Skin Journal > Skins > ... See Skins
- This is where you assign the global styles, set up various page options and indicate the header and footer modules to be used.
Create Modules Journal > Modules > ... See Modules
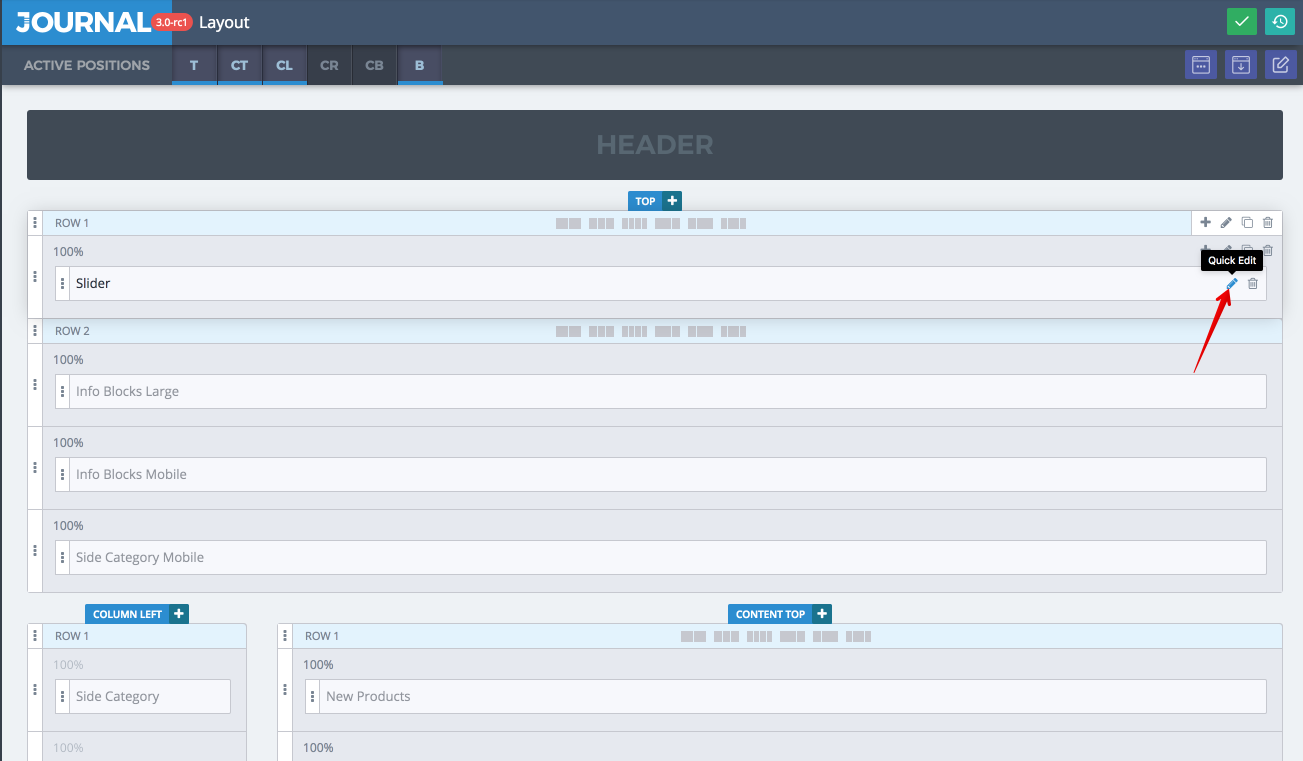
- Set up the modules you need and assign them to the desired layouts via the page builder. Modules, just like
Styles or Variables, can be edited directly from the page builder interface in the Layouts page.
- Some modules also require styles to be assigned directly to the module. For example, the Product Grid style is assigned to the Skin and applies to all products in category type pages (Category, Special, Search, Manufacturer, All Products) but the Products module needs the style to be assigned the module as well. It can use the same style or an entirely different one.
- Set up the modules you need and assign them to the desired layouts via the page builder. Modules, just like
Styles or Variables, can be edited directly from the page builder interface in the Layouts page.
- Add Modules to Layouts Journal > Layouts > ... See Layouts
- Access the desired page where you want to add your modules (e.g. Home or Product).
- Enable the positions where you plan to add the modules. See Positions
- Add Rows. Depending on the desired layout you can add one or more rows. Each row can hold one or more columns, which in turn can hold one or more modules. See Rows
- Add Columns. You can add one or more columns in each row. Any module may occupy a certain width (in percentage) of each row. See Columns
- Add Module. One or more modules may be added in the same column but usually one module per column is recommended in cases where different spacing or container styles may be required (each column has its own container options).
- Save and visit the storefront to see the modules on the page.